Home Guides and Articles
Duratech Chimney Pipe Installation Guide

Duratech Chimney Pipe Installation Guide

Duratech by Simpson Duravent is an all-fuel chimney system for use with wood stoves, fireplaces, furnaces, boilers, ranges, water heaters, or other appliances fueled by wood, oil, coal, or gas, and zero-clearance fireplaces that are factory-built. Duratech chimney systems are designed for normal, continuous operation at 1000° F flue gas temperatures, DuraTech is subjected to rigorous and stringent HT requirements of the UL standard, including one hour at 1400° F, plus three ten minute chimney fire tests at 2100° F. Duratech chimney systems are c-UL-us Listed to UL 103 and ULC S604 (MH7399) (Stainless steel outer wall required for installation in Canada).

Duratech Chimney Pipe Installation Guide

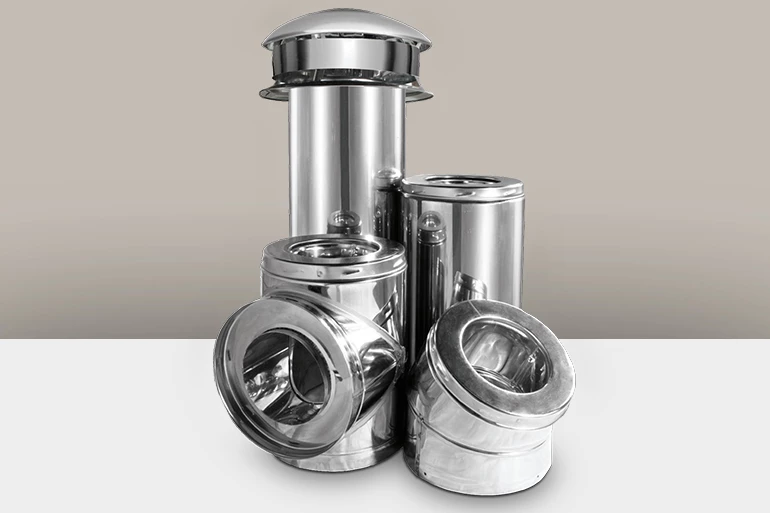
With a Thermal Tech blanket insulation encased between dual walls, DuraTech chimney systems offer the optimum in safety and performance. It keeps the outer wall of the chimney cool, while ensuring high flue gas temperatures for optimum draft performance. The inner wall is 25% thicker than competitive chimneys for an extra margin of safety.

Duratech Chimney Pipe Installation Guide

Refer to the Typical Installation drawings below to select the appropriate component parts for your installation.

  • DVL/DuraBlack Chimney Adapter must be used when connecting DVL pipe to a Ceiling Support Box or Finishing Collar. When connecting DuraBlack pipe, a DVL/DuraBlack Chimney Adapter, DuraBlack Slip Connector, or Snap-Lock Adapter must be used.
  • Wall Thimble must be installed with an appropriate length of chimney pipe for all horizontal through-the-wall installations. To accommodate thicker walls, the telescoping pieces of the Wall Thimble can be separated, and a field-fabricated extension may be installed.
  • Attic Insulation Shield must be used in all installations that pass through an attic, regardless of whether the attic is insulated or not.
  • Firestop Radiation Shield must be used when a chimney passes through a floor or ceiling without a support box.
Duratech Chimney Pipe Installation Guide

Planning Your Installation

  • The following recommendations are intended as a general guideline to assist in the layout and selection of the chimney components needed for your installation. Always read and follow Simpson Dura-Vent Installation instructions before installing your chimney system, found with the cap or support box. Installation instructions can be viewed on the products item page. The diameter of the chimney should match the outlet size of the appliance. An improperly sized chimney results in poor draft and excessive creosote formation. 
  • Measure the diameter of the appliance flue outlet. Select the chimney and either DVL or DuraBlack connector stovepipe with the same size diameter as the appliance flue outlet. For fireplace installations, refer to the sizing chart in the back of this catalog.
  • Determine if the installation is a through-the-roof installation or a through-the-wall installation. A through-the-wall installation will require additional components (Wall Thimble, Tee w/ Cap, Tee Support, and Wall Straps).
  • Install the chimney in the interior of the structure whenever possible. A cold exterior chimney will produce less draft and will generate more creosote.
  • If possible avoid offsets that serve to restrict the natural draft. A straight vertical installation is more efficient and less likely to develop creosote. If an offset is required to avoid rafters or other obstructions, measure the horizontal distance required and the vertical height available. Both 15° and 30° elbows are available. Elbows greater than 30° are not allowed in the United States. A maximum of two offsets in a single installation are permitted. Refer to the offset table in the back section of this catalog. At least one Elbow Strap is required for each offset. Elbow Straps ensure adequate support.
  • Determine the minimum chimney height above the roof line. Building codes require a minimum of 3' above the roof penetration and at least 2' higher than any portion of a building within 10'. See figure 1. The termination cap is installed above that point.
Duratech Chimney Pipe Installation Guide


  • Measure the roof pitch. For example a 6/12 pitch has a vertical rise of 6" over a horizontal distance of 12". Select the appropriate flashing.
  • Determine the total length of chimney and stovepipe required for the installation. To calculate the installed per length of 5"-8" DuraTech pipe, subtract 1 1/4" per joint. For 10"-24" diameter, subtract 3/4" per joint of pipe. Subtract 1 1/4" per joint of DuraBlack stovepipe. Subtract 1 1/2" per joint of DVL stovepipe. Minimum chimney height, at sea level, of straight vertical chimney is 10' to 15' above the appliance outlet. Higher elevations, or the use of elbows or a tee, will require approximately 30% to 60% more height to provide for an adequate draft.
  • For a UL approved shroud, see products item page.
  • Be fire safe. Maintain at least 2" clearance to combustibles. Follow local building codes and have your chimney inspected by a certified professional.

About the Author

Collin Champagne

With over 13 years in the industry, Collin is a National Fireplace Institute (NFI) certified technician and managed content for the eFireplacestore and eCanopy brands. He has achieved the highest NFI certification possible as a Master Hearth Professional and is certified in all three hearth appliance fields: wood, gas, and pellet. With experience with sales and in-field installations, his expertise shines through his technical knowledge and way with words.

Related Articles

Customer Q&A with Product Specialists

Ask a Question