
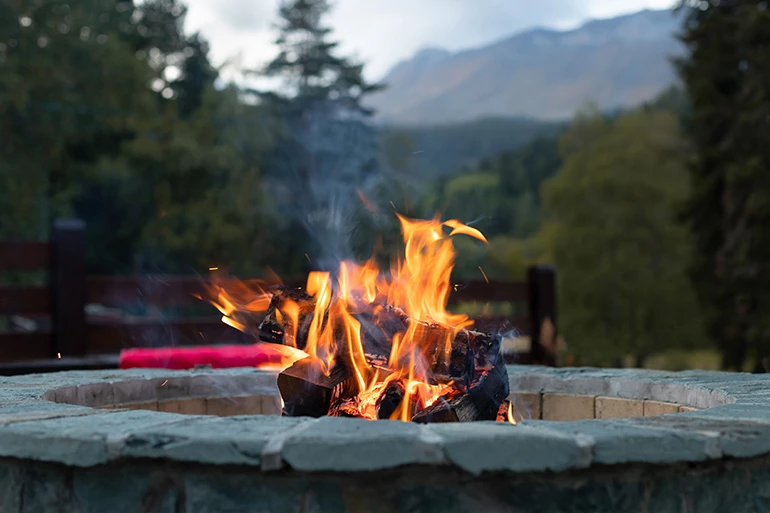
How to Build (and Use) a Wood Burning Fire Pit
So, you've made up your mind to install a fire pit at your home. Not only that, but you've done your research. You've educated yourself with our handy dandy article that explains components. However, now you've gotten to the big choice. What kind of installation are you going for? Well, if you're here, it would seem that you're leaning toward a wood burning one. If so, you have some more choices to ponder on.
Obviously, if you're burning wood, you're not usually going to have an ignition system. So you've inadvertently made that choice already. Your choices are going to be in regards to enclosure options, safety, and durability.
Continue below for details before the video.
